Scheduling Set Up
- Profile Tab: Add requested information.
- Services, Appointment, Area, Availability Tabs: Add information appropriate to your business.
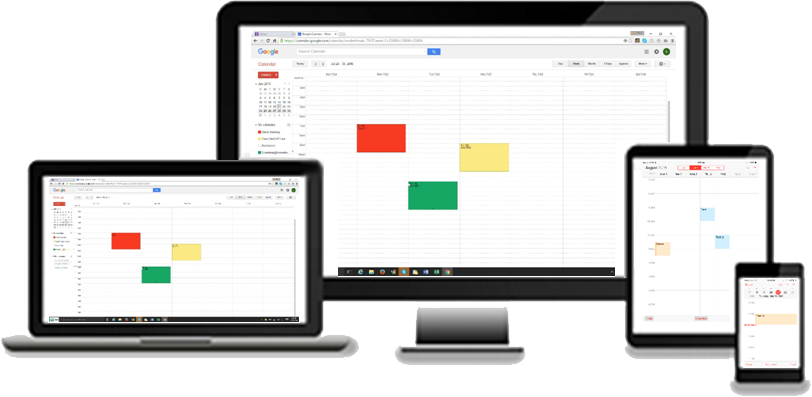
- Calendar Tab: If you are not already logged in to your Google Calendar on your browser, select "Calendar" and login to your Google Calendar account.
- Sync Tab: The app calendar named after the company you provide in your "Profile" which appears under "Other Calendars on your Google Calendar is already synced.
To sync the first calendar under "My Calendars" and any additional calendars so you don't double book a time slot, select the "Sync" submenu item under "Calendar", and follow the instructions on the "Sync" tab.
- Link Tab: If you're using Chat 24/7 Live on your website, go to "Link", copy the link in the box, select "Click to email this link to care@chat247live.com", then paste the link into the email and click "Send".
- Set Up Tab: For a quick set overview see our tutorial video. Then select the current day appointment time delay
- Report Tab: To cancel or reschedule an appointment click the appropriate icon under "Actions". This can also be accomplished by clicking "reschedule" or "cancel" on the confirmation email.
If you're embedding Scheduling into your website or other online location, copy the link, paste into an email and send the link to your web developer.
That's It ! You're ready to start booking new business.
Exit


